Call For A Free Estimate
How to Install Modular Cabinets: A Step-by-Step Guide
Transforming your kitchen with modular cabinets can breathe new life into your space, allowing you to personalize the layout and functionality to suit your needs. To install modular cabinets, you'll need basic tools such as a drill and measuring tape to accurately position and secure each cabinet unit. The process involves careful measurement, aligning the cabinets, and securing them in place. This hands-on approach not only saves you money but also ensures a bespoke kitchen setup tailored to your lifestyle.
At Great Harbors Home Services, we know the intricacies of kitchen renovations and understand what it takes to achieve a seamless finish. Modular cabinets allow you to maximize space and improve kitchen efficiency, reflecting your personality and tastes. With a focus on quality and meticulous attention to detail, our team is committed to delivering results that meet your expectations.
Whether you're updating your entire kitchen or just the cabinets, the installation isn't just about the final product—it's about the journey of transforming your home. By taking the DIY route, you're in control every step of the way. For those in Cape Cod needing expert guidance, Great Harbors Home Services offers professional advice and services to ensure your project is both rewarding and successful.
Planning Your Modular Cabinet Installation
Effective planning is essential for installing modular cabinets seamlessly. This process involves precise measurements, the selection of suitable cabinet styles, and gathering the necessary tools and materials to facilitate smooth installation.
Measuring the Installation Area
Start by using a pencil and a measuring tape to take accurate measurements of your kitchen or desired area. Note the height, width, and depth where you plan to install the cabinets. Proper measurements ensure that the cabinets fit perfectly without any gaps or overcrowding.
Consider obstacles like windows, doors, and electrical outlets that might affect cabinet placement. Be sure to mark these on your sketch for reference. This will help you identify any potential issues before purchasing stock cabinets or customized options.
Choosing the Right Modular Cabinets
Selecting the right cabinets involves both style preferences and functional needs. Decide whether stock cabinets or custom options better fit your space and budget. Stock cabinets, widely available at retailers like Lowe’s, provide a cost-effective and quick solution.
Consider material, color, and finish that aligns with your kitchen’s design. Pay attention to features like storage capacity, drawer functionality, and ease of access. If assistance is needed, Great Harbors Home Services offers consultations to help you find cabinets that meet your specific needs in Cape Cod, Massachusetts.
Preparing Tools and Materials
Gathering the correct tools and materials is crucial for a successful installation. You'll need a table saw for precise cuts, a drill for mounting, and screws and brackets for securing the cabinets. It’s also helpful to have a level to ensure your cabinets are installed straight and an extra pair of hands if possible.
Organize your workspace and have all necessary items ready before beginning. Completion is more efficient if you’re well-organized. The professionals at Great Harbors Home Services stress the importance of preparation and can assist with your installation needs to ensure a smooth process.
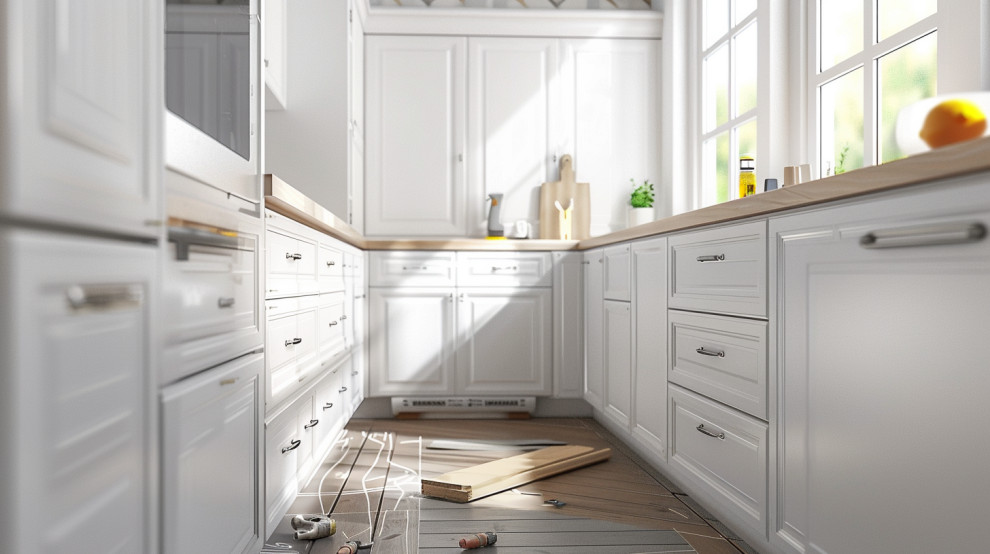
Preparing the Space for Modular Cabinets
When installing modular cabinets, preparation is crucial. Ensuring your workspace is clear and marking accurate layout lines will set the foundation for a smooth installation process. Your attention to these details will impact the final look and functionality of your kitchen or other areas where cabinets are being installed.
Clearing the Area and Removing Old Cabinets
Begin by removing any items from your cabinets to ensure a clear working environment. If old cabinets are in the space, carefully uninstall them. Start by detaching the cabinet doors, then use a drill to remove screws that hold the cabinets in place. Take care not to damage the walls or surrounding fixtures during removal.
Once the area is clear, double-check that the walls and floors are free of debris. Clearing these surfaces will not only provide a clean slate for your new cabinets but also help in identifying any repairs needed before installation. This process may reveal issues like uneven flooring or damaged walls, which should be addressed beforehand for the best results.
Marking Layout Lines on Walls and Floors
With the area prepared, it's time to mark the layout for your new modular cabinets. Use a stud finder to locate the wall studs, as these will serve as anchoring points for the cabinets. Once located, mark them clearly with a pencil to ensure your cabinets are securely mounted.
Next, use a level to draw straight layout lines on both the walls and floors. Measure the dimensions of your cabinets and mark where each piece will go. This step is crucial for alignment and spacing, ensuring your cabinets fit perfectly. For additional support and alignment accuracy, temporarily use plywood to simulate the cabinet base and adjust as necessary.
Great Harbors Home Services specializes in kitchen renovations and can assist in ensuring every step is executed with precision. By handling potential challenges upfront, you pave the way for a seamless and visually appealing cabinet installation.
Installing Base Cabinets
Installing base cabinets requires precision and planning. You'll focus on positioning them correctly, ensuring they are level, securely attaching them, and properly connecting adjacent units for a seamless fit.
Positioning and Leveling Base Cabinets
Begin by identifying the highest point on the floor where the cabinets will be installed. This point will serve as the reference for leveling all base cabinets. Use a straightedge or laser level to draw a level line across the wall at a height of 34.5 inches from the floor. This height corresponds to standard base cabinet dimensions. Once that's set, measure 19.5 inches above this line to account for countertops.
Place the first cabinet at one end of the row, and adjust its position using shims to ensure it's level in all directions. Continue this process for each adjacent cabinet. Fine-tune their alignment, so all tops are perfectly even. Pay attention to gaps between walls or other cabinets, which can be closed using filler strips.
Securing Cabinets to Walls and Floors
Once positioned and leveled, secure your base cabinets to the walls using cabinet screws. Typically, screws are driven through the back of the cabinet into the studs behind the wall. It's important that each cabinet is firmly attached, so check that all screws are tight and properly aligned with stud locations. If the cabinets need more stability, consider attaching them to the floor as well.
To do this, drill 2x4 cleats into the floor where the cabinets will sit. This is particularly important for islands or base cabinets placed in non-traditional layouts. At Great Harbors Home Services, we ensure these foundational steps are executed with precision to maintain the integrity of your kitchen layout.
Connecting Adjacent Cabinets
To properly connect adjacent cabinets, start by ensuring they are flush and aligned. Clamp them together temporarily and drill pilot holes through the sides. Use screws to permanently join them. This step is crucial for creating a seamless appearance and preventing gaps over time.
Install filler strips where needed to cover gaps between cabinets and walls. At Great Harbors Home Services, we recommend sanding and finishing these strips to match your cabinets for a polished look. Finally, check all connections to make sure they are robust and adjustments have not shifted during the installation process.
Mounting Wall Cabinets
Mounting wall cabinets requires precision and careful planning to ensure stability and aesthetic alignment. You'll need to focus on locating studs for support, properly lifting and securing cabinets, and maintaining alignment and spacing for a professional finish.
Locating Studs for Wall Cabinet Support
Before you begin, identifying wall studs is crucial for secure cabinet installation. Use a stud finder to locate the edges of the studs along the wall where the cabinets will hang. Mark these points with a pencil.
Studs are typically positioned 16 to 24 inches apart. Once located, outline where each cabinet's top will align with the stud marks. This ensures that screws and brackets have solid wood to grip, providing the necessary support for your cabinets.
Accurate stud placement directly affects the longevity of your cabinets, so invest time to double-check measurements. If hiring a professional, ensure they perform these checks. Great Harbors Home Services in Cape Cod can assist in professional installation with precision and care.
Lifting and Securing Wall Cabinets
Cabinet installation often requires a team or mechanical assistance due to their weight. Using a cabinet jack can alleviate heavy lifting. Position the cabinet below where it will hang, aligning it with the stud locations.
Once in position, lift the cabinet into place and drive screws through the back rail of the cabinet into each stud, starting with the top and working down. Make sure to use cabinet screws designed to hold significant weight. Fasteners should penetrate the wall by at least an inch and a half for maximum security.
Check that each cabinet is level before fully securing it. This prevents alignment issues in later steps. Considering hiring Great Harbors Home Services if you're near Cape Cod for expert handling of all these steps.
Ensuring Proper Alignment and Spacing
Proper alignment and spacing are key for a polished look. Start by aligning the first cabinet at the highest point, ensuring it's level before moving on. Subsequent cabinets should be aligned horizontally, and correct any variances in ceiling heights or wall angles.
Create even spacing between each cabinet by measuring from the edge to edge. This ensures uniformity across all cabinets and maintains aesthetic appeal. Check all levels frequently throughout this process.
Using spacers can help maintain consistent gaps. Remember that correct initial alignment affects the entire setup; take your time to get this right for a seamless installation.
Finishing Touches and Adjustments
In the final stages of installing modular cabinets, ensure that everything fits perfectly and functions correctly. This involves attaching countertops securely, using filler strips for consistent gaps, and adjusting doors and drawers for smooth operation.
Attaching Countertops
To begin with, align the countertops with the base cabinets, securing them with brackets or wood glue for stability. Ensure the countertops are level with a spirit level. For materials like granite or marble, professional assistance may be required to avoid damage.
Consider the overhang of the countertop to ensure it meets aesthetic and functional needs. For your kitchen renovation, seek guidance from professionals like Great Harbors Home Services to achieve a perfect fit.
Installing Filler Strips and Trims
Filler strips and trims are crucial for seamless cabinet installation. These pieces fill any gaps between cabinets and walls or between two cabinets, providing a polished look. Measure the gaps accurately and cut the filler strips to fit, securing them with wood glue or screws.
Make sure the strips match the color and finish of the cabinets. Applying a coat of matching varnish can enhance continuity. Trims can also be added for aesthetic flair, ensuring a comprehensive and cohesive appearance.
Adjusting Doors and Drawers
After installation, check all cabinet doors and drawers for smooth operation. Adjust the hinges on doors to ensure they open and close without catching. This may involve altering the screw tension.
For drawers, verify that they slide effortlessly within their tracks. Tracking systems might need an adjustment for alignment issues. This meticulous tweaking ensures that functionality matches your design expectations. For additional help with carpentry tasks in your kitchen, reach out to Great Harbors Home Services. Their expertise in finishing touches can transform your kitchen space beautifully.
Frequently Asked Questions
Installing modular cabinets involves specific tools, careful planning, and attention to detail. Ensuring proper alignment and secure installation will help you achieve a professional finish.
What tools and materials are needed for installing modular cabinets?
Gather essential tools and materials such as a stud finder, level, drill, screws, and measuring tape. Additionally, you'll need cabinet-specific hardware and brackets for secure mounting. Consider having a pencil and spirit level ready to ensure accuracy.
Can you detail the steps involved in setting up a modular kitchen?
Begin by preparing the space and locating the wall studs. Install the upper cabinets first, followed by the lower units. This order helps keep your workflow organized and efficient. Secure each cabinet using the pre-drilled holes and appropriate fasteners.
How do you ensure the cabinets are aligned and level during installation?
Use a spirit level to align the cabinets horizontally and vertically. Check alignment after securing each unit. Adjustments may be needed as you go along. Maintaining precise measurements and checking levels routinely is crucial.
What are the best practices for securing modular cabinets to the wall?
Always find and use wall studs for the strongest support, especially for upper cabinets. Utilize the proper fasteners and hardware that are recommended by the cabinet manufacturer for optimal security and longevity.
In what order should the modules be assembled and installed?
Install upper cabinets before lower units to ensure easy access. This method provides a cleaner workspace and prevents lower cabinets from getting damaged during installation. Proper planning and order of assembly are critical for efficient installation.
What are some common mistakes to avoid when installing modular cabinets?
Avoid these common mistakes: failing to find studs, skipping measurements, or neglecting to use a level. Ensure all hardware is compatible with your cabinets to prevent any issues. Taking the time to double-check your work prevents costly errors.
Remember, Great Harbors Home Services is ready to assist with your modular cabinet installations and more in Cape Cod. Whether it's modular cabinets or complete kitchen renovations, our team is equipped to handle your service needs with precision and care. Feel free to reach out for further guidance and a free estimate.